Getting Started
Create your church, configure the first campus, and invite your team.
From zero to a fully operating church
In this section you’ll find the guides you need to get your Ministrium instance up and running: registration, first campus, invited team, and active electronic donations. The short path is the 5-minute Quick Start; the following pages go deeper into each step for when you need more detail.
Recommended path
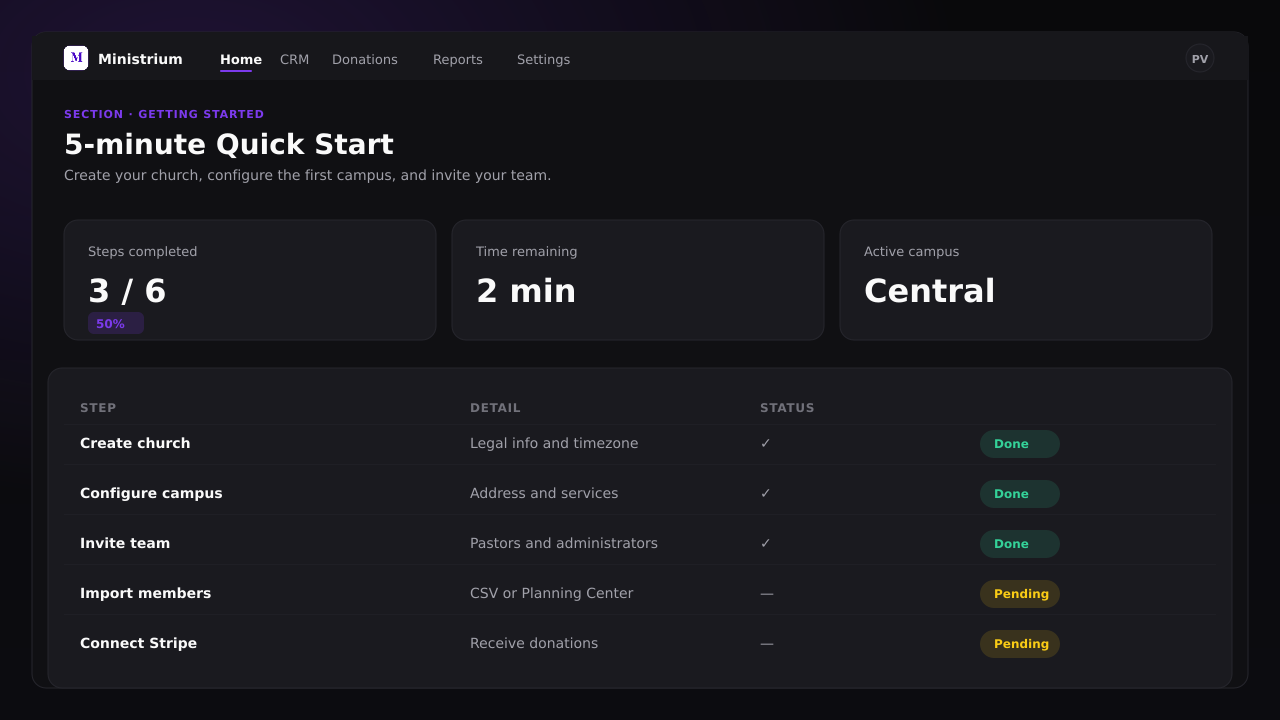
The complete walkthrough in five steps: account, campus, team, Stripe, and first donation.
5-minute Quick StartLegal data, primary language, time zone, and 14-day free trial.
Create your churchName, address, kiosk PIN, and primary campus option.
Configure your first campusHow to send invitations, assign one of the 9 roles, and limit campus scope.
Invite the team and assign rolesOfficial CSV template, dry-run validation, and error recovery.
Import membersWhat every section of the side menu does on your first login.
Admin panel tourBefore you start
- 14-day free trial. No credit card required to register. You’ll have full access to every module.
- Have these handy. Legal name of the church, city, time zone, and primary language.
- For electronic donations (optional). Stripe Connect data: legal name, EIN or tax ID, bank account. You can skip this at first and connect later.
If you’ll be importing an existing member base, download the official CSV template before the Quick Start. That way you do the cleanup once instead of twice.
Next steps
- 5-minute Quick Start — the shortest path to get going.
- Roles and permissions — the full detail of the 9 functional roles.
- Multi-Campus — what changes when you add a second campus.