Invite the team and assign roles
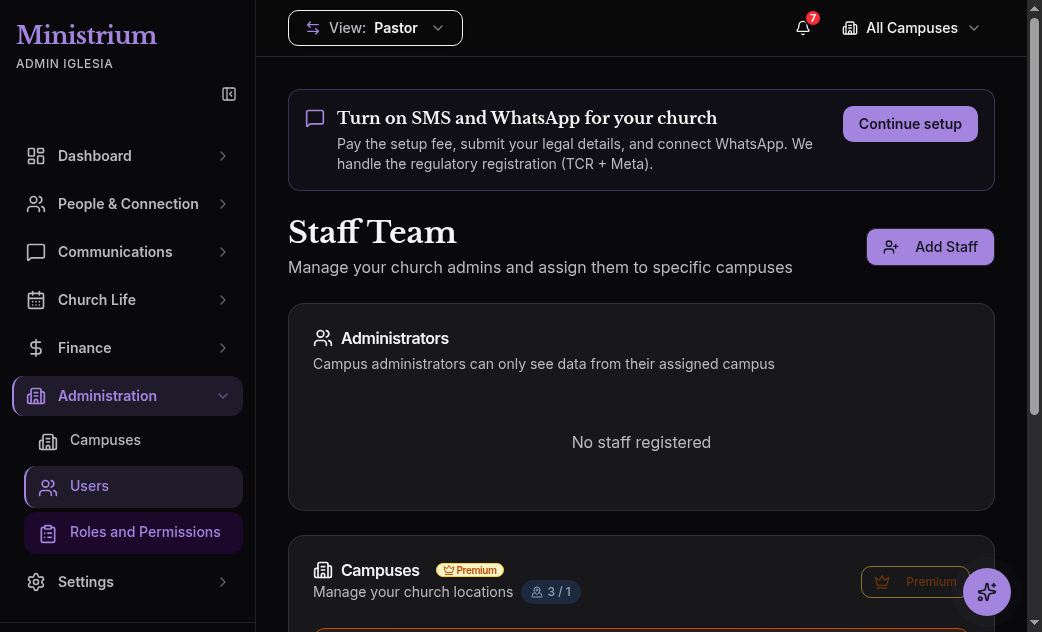
Ministrium operates with role-based access control (RBAC): each user has one or more roles that define what they can do and a scope that limits the data they can see. This page describes how to invite new collaborators and assign the right role. For the full catalogue of the 12 roles, see Roles and permissions.
Steps
Open the Team module
In the side menu, open Church → Team. You’ll see the list of current users and the Invite staff button.
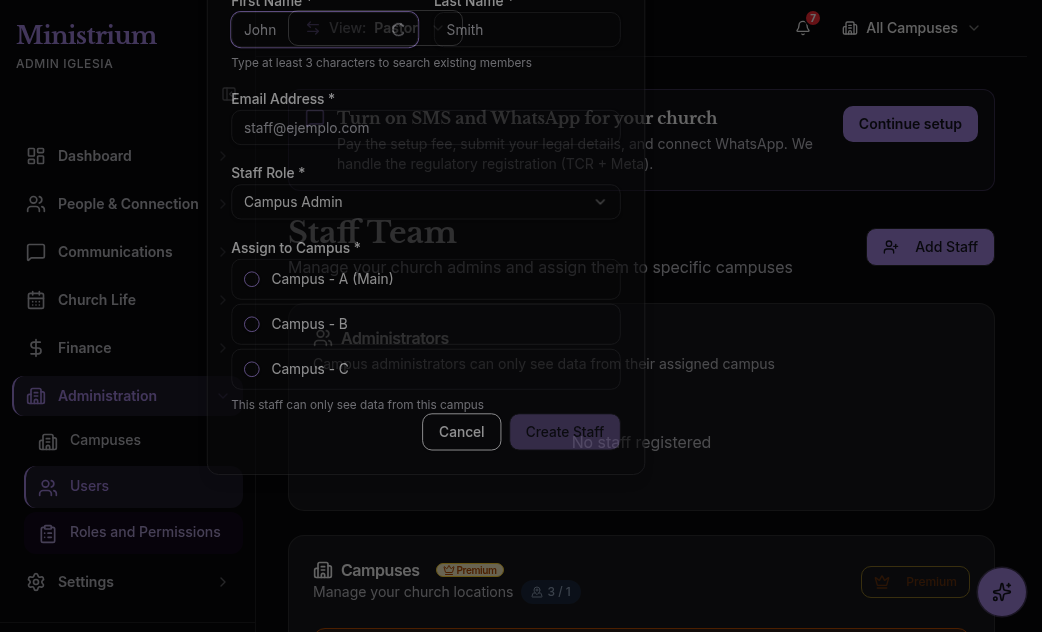
Fill in the staff member’s data
- Full name: the collaborator’s name as it should appear in the internal list.
- Email: the invitation is sent to this email. It will also be their username for sign-in.
Use the institutional email when one exists (for example pastor@yourchurch.org). Personal email works but creates dependencies: if the person resigns, their personal email remains the only access to church information until the admin deactivates it.
Assign a role
Choose one of the 12 functional roles:
| Role | For whom |
|---|---|
| Pastor | Pastoral leadership with full access to every module. |
| Associate Pastor | Associate pastoral leadership with full access. |
| Campus Administrator | Administrative operations for an assigned campus. |
| Secretary | People management and read access to groups and cell reports. |
| Finance Leader | Full Finance access and read access to People. |
| Accountant | Read access to Finance and People. |
| Zone Supervisor | Groups, agenda, interactions, and analytics for an assigned zone. |
| District Superintendent | Group and report management within an assigned district. |
| Cell Leader | Members, attendance, and weekly reports for an assigned cell. |
| Service Team Leader | Teams, agenda, and service planning. |
| Legal Kids Leader | Minor supervision and consents. |
| Formation Leader / Teacher | Assigned cohorts, curriculum, and grading. |
For the full detail of what each role can do, see Roles and permissions.
Limit campus scope (optional)
If your church has multiple campuses, you can restrict the user to one or several:
- No restriction → sees all campuses.
- Restricted to one campus → only that campus.
- Restricted to several → the campuses you choose (typical for zone supervisors).
The scope is applied structurally at the database level: the user cannot see data from a campus outside their scope, not even by accident. See Isolation between churches.
Cell-, zone-, district-, and campus-scoped roles can only see data within their area. Confirm the scope before sending the invitation.
Send the invitation
Click Send invitation. The collaborator receives an email with:
- Who is inviting them and to which church.
- The assigned role and campus scope.
- A single-use link to create their password.
The link expires in 7 days. If the person doesn’t respond in time, go to Church → Team → Pending and click Resend invitation.
Composite roles
A user can have composite roles combining responsibilities. Common examples:
- Pastor + Cell Leader — a pastor who also leads a cell.
- Accountant + Service Team Leader — an accountant who also coordinates a team.
To assign multiple roles, go to Church → Team → Edit user and add each role. Permissions accumulate: the user has everything each role allows, and the interface adapts to show the modules relevant to the combination.
Change or remove a role
Go to Church → Team → Edit user and modify the role or scope. If the user leaves the church:
- Remove administrative or leadership roles and retain only member access when appropriate; otherwise, deactivate the account.
- Do not delete the account: deletion would break the audit trail. The correct action is to deactivate.
Every change is logged in the audit with who did it, when, and from which IP.
Next steps
- Roles and permissions — the full detail of what each role does.
- Password policies — how each account is protected.
- Import members — to add the congregation, not just the staff.